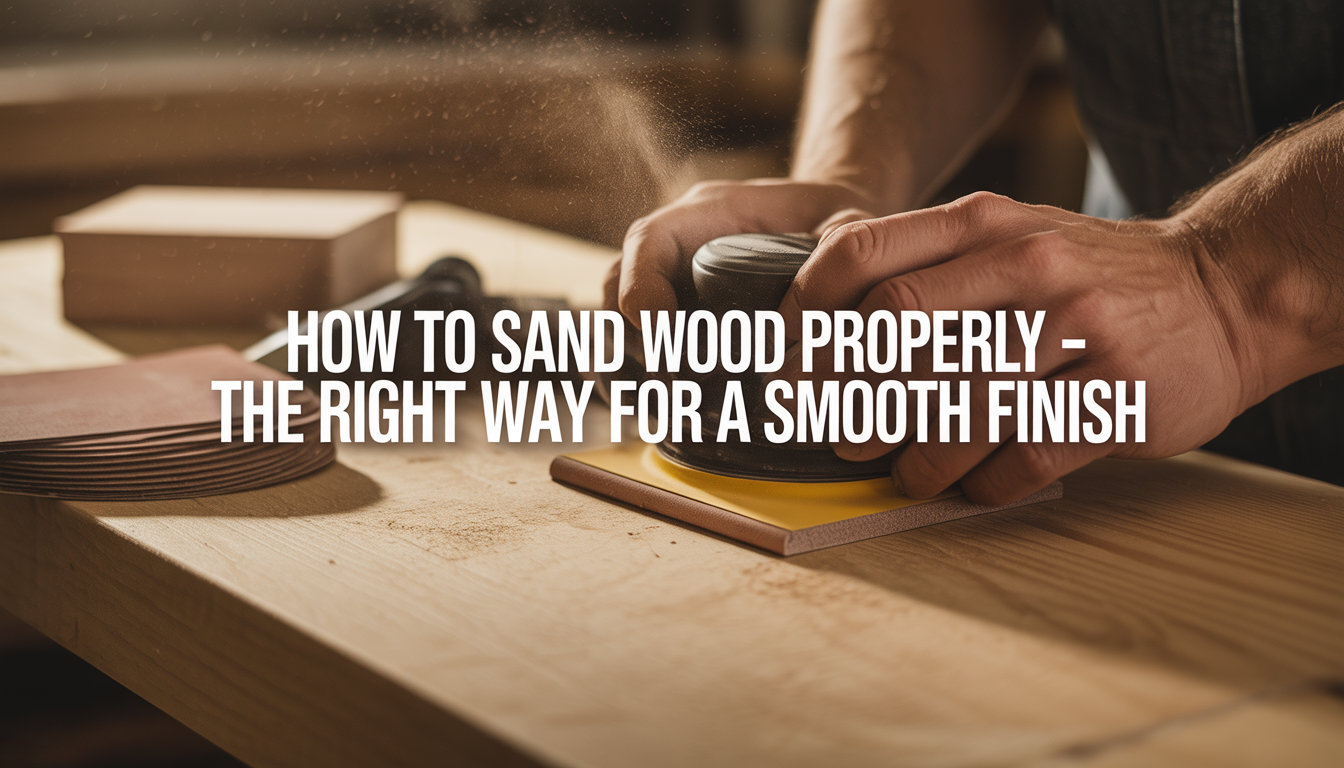
How to Sand Wood Properly | The Right Way for a Smooth Finish

I once tried to build a coffee table that looked more like a giant splinter monster waiting to attack my shins. My friends would visit and stand at least five feet away from it, as if it were a wild animal. I realized that my big mistake was not the wood or the hammer, but my refusal to spend more than two minutes sanding wood. I thought I could slap some paint on it and call it a day, but I ended up with a piece of furniture that could double as a weapon.
If you are like me, you probably want your DIY projects to look like they came from a fancy store, not a lumber yard trash bin. I have spent years making a mess in my garage just so I could learn the secrets of a truly smooth finish. Sanding is the part of woodworking that everyone wants to skip, but it is actually the most important part. Today, I am going to share my journey with you and show you how to do it the right way without losing your mind or your fingerprints.
Why I Used to Hate Sanding and Why I Love It Now:
When I first started my woodworking hobby, I thought sanding was a boring chore. I wanted to get to the part where I use the shiny stains and the pretty paints. But every time I skipped the hard work, my projects looked terrible. I would see weird scratches and bumps as soon as the paint dried. It was like the wood was laughing at me. I finally realized that sanding wood is like a spa day for my furniture. It takes off all the stress and makes everything soft.
Now, I look at sanding as a way to clear my head. There is something very calming about the sound of the sander and the way the wood changes under my hands. I went from being a person who hated the dust to a person who loves the result. When I rub my hand across a piece of oak, and it feels like glass, I know I did a good job. It is a feeling of pride that I never got from rushing through a project.
My Guide to the Sandpaper Numbers Game:
I used to go to the store and stare at the wall of sandpaper like it was a foreign language. There are so many numbers, and I had no idea what they meant. I used to think a higher number meant a stronger paper, but it is actually the opposite. The number tells you how many little pieces of sand are in one square inch. A low number like 60 is coarse and rough, while a high number like 220 is fine and smooth.
I always start with a low number if the wood is very rough. I use 80-grit to get rid of the big bumps and the old paint. Then, I move up to 120 grit to make it look decent. Finally, I use 220 grit to get that smooth finish that makes people say wow. I learned the hard way that you cannot skip these steps. If I go from 80 straight to 220, I am going to spend the rest of my life trying to get the scratches out. I follow the path, and it saves me so much time.
Why the Wood Grain is the Boss of My Shop:
One of the biggest lessons I ever learned is that you must always follow the wood grain. The grain is the direction that the fibers of the wood are growing. If I sand across the grain, I am basically cutting the wood and making deep scratches that are impossible to hide. It is like petting a dog the wrong way. The dog gets annoyed, and the wood gets ugly. I always look closely at my board to see which way the lines are going.
I keep my sander moving in long, straight lines that follow those patterns. Even when I am using an orbital sander, I try to keep my movements steady and in line with the grain. This ensures that any tiny scratches I do make are hidden by the natural look of the wood. It is a simple rule, but it is the difference between an amateur project and a professional one. I never fight the wood anymore because the wood always wins.
Choosing Between My Hands and My Power Tools:
I love my power tools because they make me feel like a superhero with a very loud cape. My orbital sander is my best friend for flat surfaces. It spins in circles while moving back and forth, which helps prevent those ugly swirl marks. I use it for the big parts of my tables and desks. It does the heavy lifting, so my arms do not fall off. I just let the tool do the work, and I guide it gently.
But I also know when to put the machine down and use my own two hands. For corners, edges, and curvy parts, I use sanding blocks. These are just little blocks of wood or rubber that I wrap my sandpaper around. They give me a flat surface to press against the wood, so I do not round off the edges by accident. I find that the final round of sanding is almost always better when I do it by hand. It gives me a level of control that no machine can match.
How I Keep My Lungs and My House Happy:
I used to come inside after a day of sanding wood, looking like a ghost. I would be covered in white dust from my head to my toes. My wife was not happy, and my lungs were definitely not happy. I learned that wood dust is not just messy, it can be dangerous to breathe. Now, I never start a project without my mask. I use a high-quality respirator that keeps all those tiny particles out of my body. It is the best money I have ever spent.
I also hooked up a vacuum to my orbital sander. Most modern sanders have a little port where you can attach a hose. This sucks up the dust as soon as it is created. It keeps my workspace clean and lets me see what I am doing. I also open the windows and use a big fan to blow the air out. Staying safe and clean makes the whole DIY process much more enjoyable. I want to be able to enjoy my furniture for a long time, so I take care of my health while I build it.
My Step-By-Step Process for a Professional Look:
- I start by checking the wood for any nails or staples that might rip my paper.
- I grab my 80-grit paper and go over the whole surface to level everything out.
- I use a vacuum to get rid of every single speck of dust before I switch papers.
- I move up to 120 grit and spend a good amount of time smoothing out the 80 grit scratches.
- I clean the surface again because a single grain of 80-grit can ruin my 120-grit work.
- I finish with 220 grit, using very light pressure and long strokes.
- I do a final wipe down with a tack cloth to make sure it is perfectly clean.
The Flashlight Trick That Changed Everything:
I used to think a piece of wood was smooth until I put the first coat of stain on it. Then, suddenly, all the scratches I missed would show up like they were under a spotlight. It was so frustrating to have to sand a finished piece. Then, a buddy of mine showed me the flashlight trick. I take a bright light and hold it at a low angle across the wood. This creates shadows in any little bumps or scratches that I cannot see from above.
It is like a magic trick for woodworking. I can see exactly where I need to spend a few more minutes. I do this between every grit level to make sure I am ready to move on. It saves me from the heartbreak of a bad wood finish. I also use my fingertips to feel for any rough spots. My hands can feel things that my eyes miss. If it feels like silk, I know I am ready to stop.
Common Mistakes I Made So You Do Not Have To:
I have made every mistake in the book, and some that aren’t even in the book. One time, I pressed down as hard as I could on my sander because I thought it would go faster. All I did was create deep gouges in the wood and wear out my machine. I learned that the grit does the cutting, not my muscles. I just need to guide the sander and let it do its job. It is much easier on my back and much better for the wood.
Another big mistake I made was using a piece of sandpaper for too long. I was trying to save a few cents, but the paper was totally clogged and smooth. I was basically just rubbing a flat piece of paper against the wood and doing nothing. Now, I change my paper as soon as it feels like it is not biting into the wood anymore. It makes the work go so much faster. I also learned to never tip the sander on its edge. Keep it flat, or you will end up with a wavy surface that looks like the ocean.
Dealing with the Tricky Corners and Edges:
Corners are the enemy of a smooth finish. If I am not careful, I will sand right through the corner and make it look round and sad. I like my edges to stay crisp and sharp. To do this, I always use a backing block. I never just use my fingers to hold the paper. My fingers are soft and will push the paper into the corners in a way that rounds them off. A hard block keeps the paper flat and the edge sharp.
For tiny little details or carvings, I sometimes have to get creative. I might fold the sandpaper into a small point or wrap it around a pencil. I take my time, and I am very gentle. I found that rushing the details is the easiest way to ruin a whole project. I treat the corners like they are made of glass. I want them to be smooth to the touch but still look like they have a nice, clean shape.
How I Prep for the Final Stain or Paint:
Once the sanding is done, I am only half finished. The cleanup is just as important as the sanding of the wood part. If I leave any dust behind, my stain will look blotchy, and my paint will feel like sandpaper. I start with a vacuum to get the big stuff. Then, I use a tack cloth, which is a sticky little rag that picks up the tiny particles. I wipe the wood down until the cloth comes back clean.
Sometimes, I use a little bit of denatured alcohol on a rag. This cleans the wood and also shows me what the final color might look like. It also raises the grain a tiny bit. If the wood feels fuzzy after the alcohol dries, I give it one more very light sand with my highest grit. This is called knocking down the grain. It is the secret to a finish that feels professional. I want my DIY work to be something I can show off with pride.
Why Patience is the Best Tool in My Toolbox:
I have learned that you cannot rush a good finish. If I am tired or in a hurry, I should just walk away from the sander. Sanding takes time, and it takes focus. I put on some music or a podcast, and I just enjoy the process. I have found that when I am patient, the wood responds. It becomes beautiful and soft. When I am in a rush, I make mistakes that take twice as long to fix later.
I tell all my friends who want to start woodworking that they need to learn to love the sander. It is the bridge between a pile of lumber and a piece of art. I take my time at each step, and I never skip a step. I know that the extra hour I spend sanding will pay off for years every time I look at my finished project. It is about doing the job right the first time, so I can be happy with the result forever.
Key Takeaways for a Perfect Finish:
- Always start with a coarse grit like 80 and work your way up to 220.
- Never sand across the grain because it creates deep scratches.
- Use a vacuum and a mask to stay clean and healthy.
- Let the sander do the work and avoid pressing down too hard.
- Use sanding blocks for edges to keep them sharp and flat.
- Clean the wood thoroughly between each grit level.
- Be patient and enjoy the process for the best results.
My Thoughts on Different Types of Wood:
Not all wood is created equal. I found out that softwoods like pine need a lot more care than hardwoods like oak. Pine is very soft, so it is easy to sand too deeply and leave big holes. I have to be very gentle when I am working with it. Hardwoods are tougher, but they also take longer to sand. I have to use more paper and more time to get them smooth.
I also learned that some woods have natural oils that can clog up my sandpaper really fast. If I am working with something like cedar, I have to check my paper constantly. I keep a wire brush nearby to clean the dust out of the paper so I can keep using it. Knowing the type of wood I am working with helps me choose the right tools and the right plan. It makes me feel like a real expert when I can tell exactly what a board needs just by looking at it.
How to Know When You Are Finally Done:
One of the hardest things for me was knowing when to stop. I used to sand until my arms felt like jelly, but I wasn’t sure if it was actually getting better. Now, I use the touch test. I close my eyes and rub my hand over the wood. If I can feel any bumps or rough spots, I keep going. If it feels as smooth as a piece of paper, I am probably done.
I also look at the wood in the light. If I can see any shiny spots, that means I missed a section. The whole surface should have a dull, even look to it. Once I am happy with how it looks and feels, I stop. Over-sanding can be just as bad as under-sanding. It can remove too much material and make the wood uneven. I trust my hands and my eyes to tell me when I have reached the perfect smooth finish.
Conclusion:
I have spent a lot of time and a lot of sawdust learning how to sand correctly. I went from making splinter monsters to making furniture that I am actually proud of. I found that sanding wood is not a chore to be avoided, but a skill to be mastered. It is the foundation of every great DIY project. When I take the time to follow the grain, use the right grits, and keep my workspace clean, the results are always worth it. I hope my stories and my tips help you avoid the mistakes I made.
I want you to go out to your garage or your shop and give your next project the spa day it deserves. Don’t be afraid of the dust, just put on your mask and get to work. You will be amazed at how a little bit of patience and some sandpaper can turn a rough board into something beautiful. I am going to get back to my latest project now because I can hear a piece of cherry calling my name. Happy sanding, and I hope your next finish is as smooth as butter.
FAQs:
1. Can I skip from 80 grit to 220 grit?
I found that skipping grits leaves deep scratches that are very hard to hide later.
2. How do I know if I am sanding with the grain?
I look for the natural lines in the wood and move my sander in that same direction.
3. Do I really need to wear a mask while sanding?
I always wear a mask because wood dust is very bad for your lungs and your health.
4. What is the best sander for a beginner?
An orbital sander is the best tool for beginners because it is easy to use and very versatile.
5. Should I press down hard on the sander to go faster?
I never press down hard because it ruins the wood and wears out the machine prematurely.
6. How do I get the dust off before I stain?
I use a vacuum first and then follow up with a sticky tack cloth for the best results.